Indulging in some Halloween fun, carving Jack-o-Lanterns this fall! For carvers of all skill levels, a sharp Opinel and a bit of imagination will go a long way. Perfect porch decor.
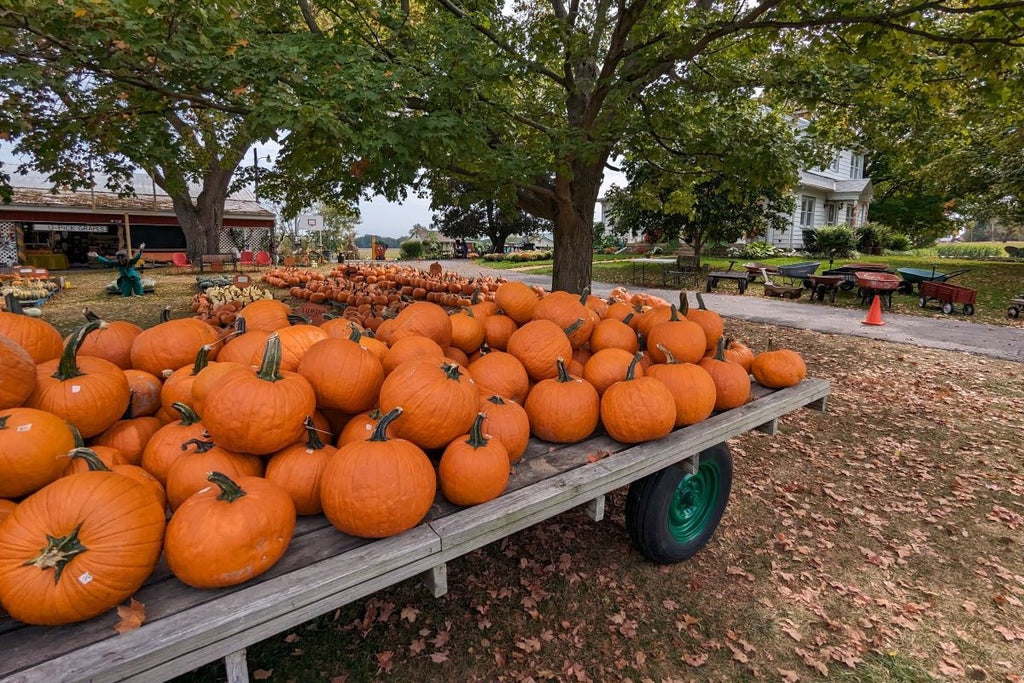
Pick the perfect pumpkin!
Head to your local pumpkin patch (or grocery store) and grab a pumpkin. We recommend a classic carving pumpkin (instead of the fancy looking heirloom pumpkins, which will have thicker skin and be harder to carve).
Gather your supplies.
Grab the essentials; a couple different size Opinel knives, a spoon to scoop the guts out, and a bowl to empty the seeds into. A marker to draw the design on the pumpkin, or a carving template are also a good idea!
- No.12 Folding Knife - ideal for cutting the top
- No.08 Folding Knife - great for cutting the design into the pumpkin
- No.05 Folding Knife - perfect for the small details in the design
No.12 Folding Knife

|
No.08 Folding Knife
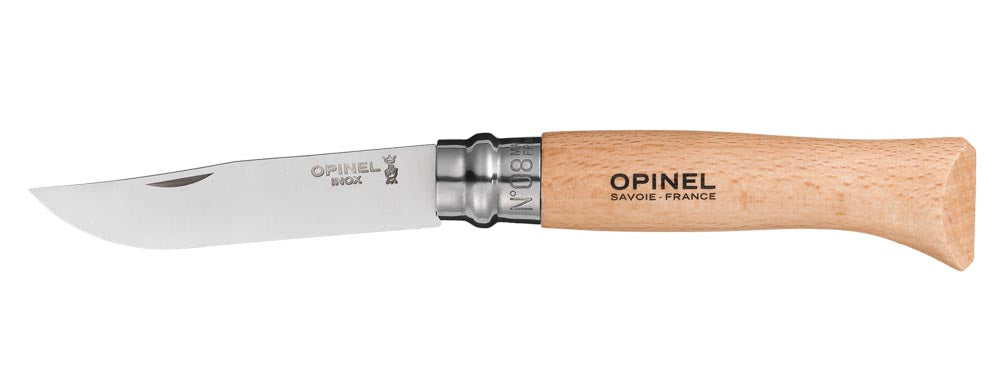
|
No.05 Folding Knife

|
Prep the pumpkin!
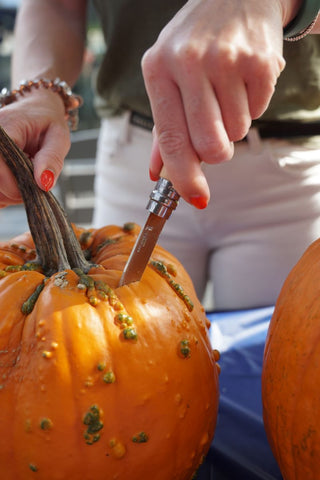
Cut a hole in the top of the pumpkin (we used a No.12 folding knife) and remove the top.
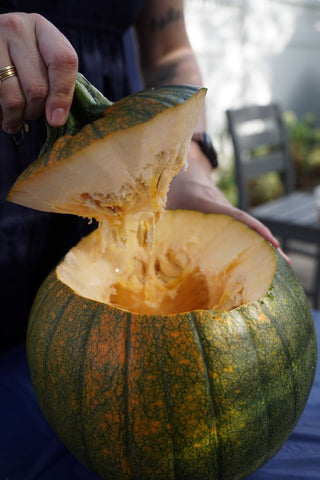
Scoop out the guts (the pumpkin seeds and pulp) with the spoon. You can also opt to shave down the inner walls of the pumpkin with your spoon to make carving a bit easier. Save the seeds for a little post-carving treat (recipe below).
Draw the design on your pumpkin! Scary face? Goofy face? Fun design? Super detailed scene? Your choice! If using a templated design, attach the template to the pumpkin. To transfer the template design onto the pumpkin, poke holes along the lines of the design.
Start carving.
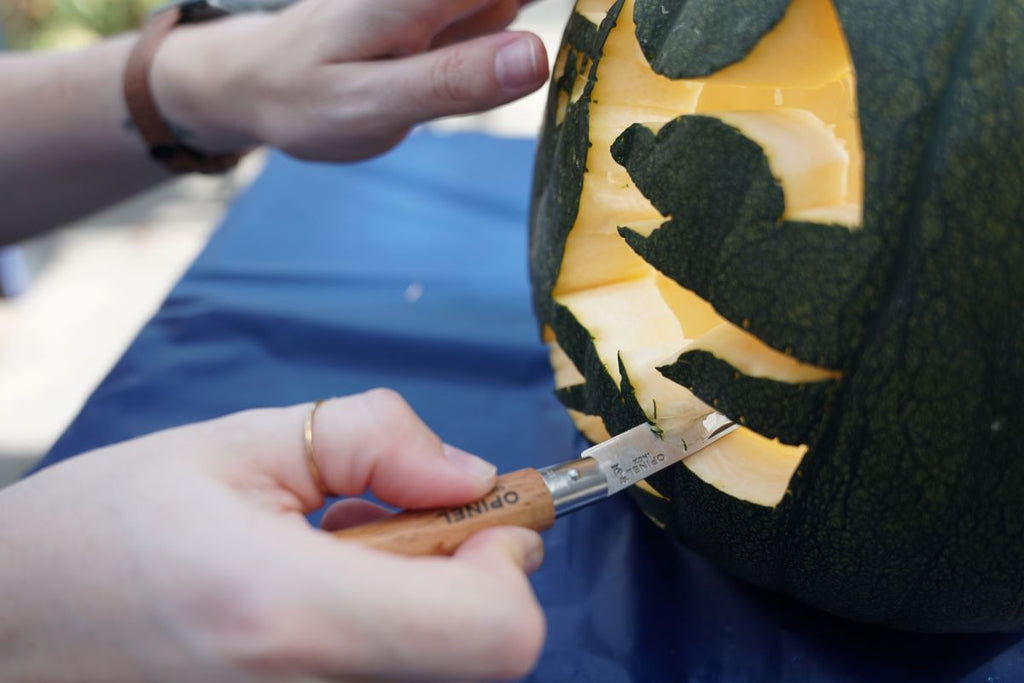
Once your design is final, use a knife to carve into the pumpkin. We found that the No.07 & No.08 are a great size for this step. When the design gets into the small details, a No.04 & No.05 knife work well.
Keep safety top of mind - if kids are helping with this activity, we suggest an adult handle the carving, as pumpkins can be a bit tricky to cut through.
Light it up!
Once your design is perfectly carved into the pumpkin, add a candle to light it up, pop the top back on and place it on your front porch! Voilà!

__________________________________________________________
Roasted Pumpkin Seeds Recipe
Don’t toss those pumpkin guts! Made this easy recipe for tasty pumpkin seeds.
Ingredients:
- 2 cups raw pumpkin seeds
- 2 Tbsp olive oil (or avocado oil)
- 1 tsp sea salt (more if needed)
- 1 tsp granulated garlic
- 1.5 tsp smoked paprika
- 1 tsp black pepper
- 2 tsp rosemary or thyme, finely chopped
Method:
- Preheat oven to 375°F
- Wash pumpkin seeds in a colander to remove the pulp. Once clean, pat the seeds dry with a towel and place in a mixing bowl. Coat the pumpkin seeds with olive oil, salt, garlic powder, paprika, black pepper, and chopped herbs.
- Place parchment paper on a large sheet tray. Evenly spread the seasoned pumpkin seeds onto the parchment paper.
- Put the seeds in the oven, stirring the seeds every 2-3 minutes for even toasting. Roast until the seeds are toasted and crunchy - about 10 to 15 minutes.
- Once the seeds are evenly browned and crispy, remove and set aside (be careful to not burn pumpkin seeds.)
- Once seeds are pulled from oven, let completely cool on sheet tray and then transfer the roasted pumpkin seeds to a bowl and serve.


